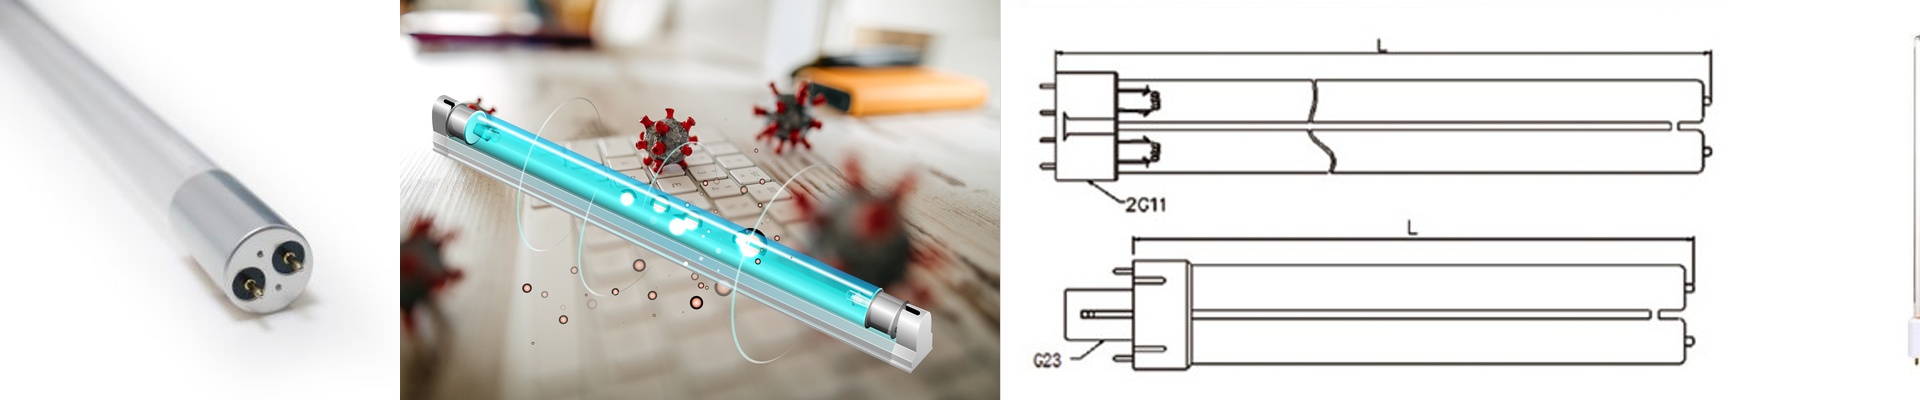
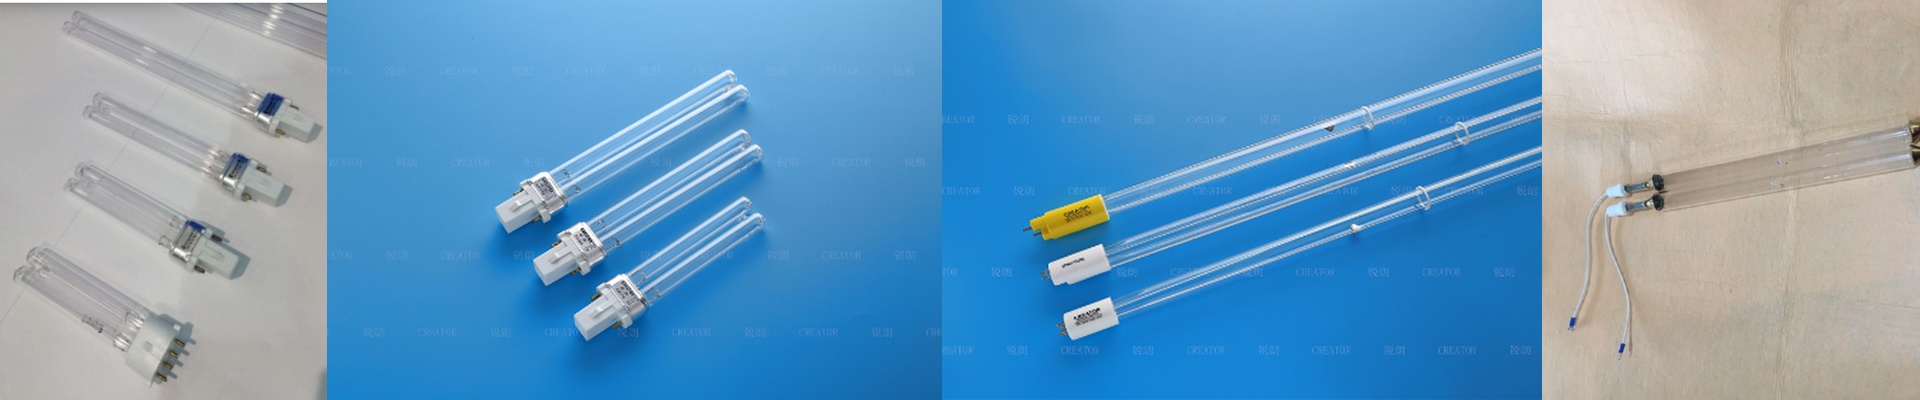
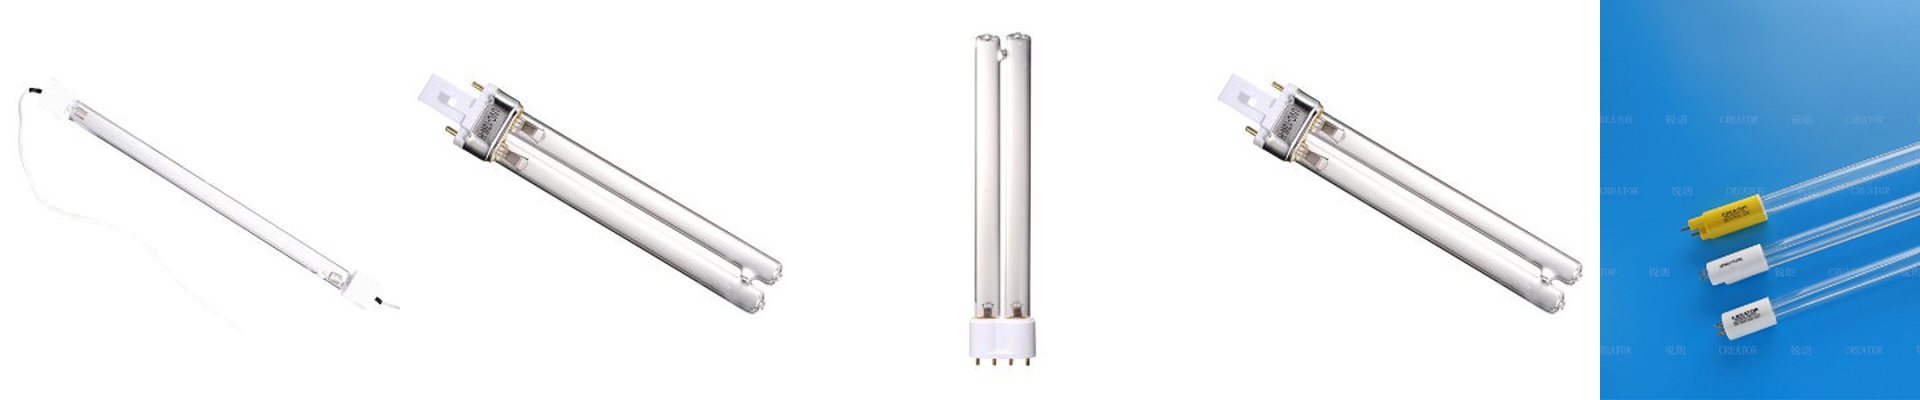
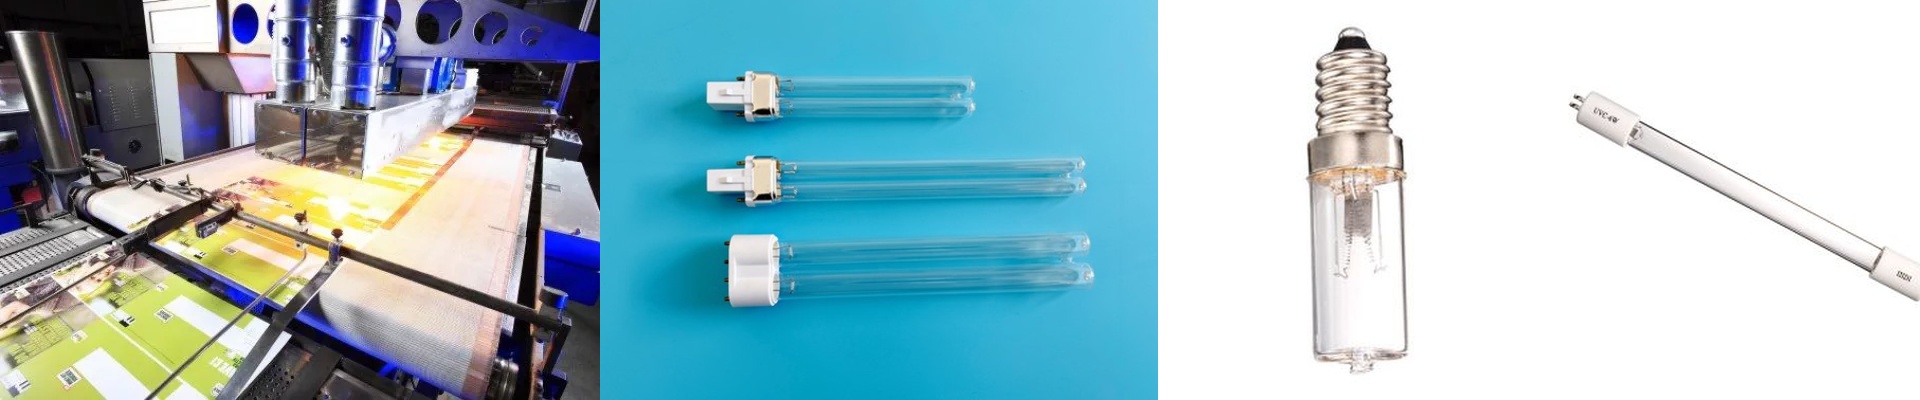
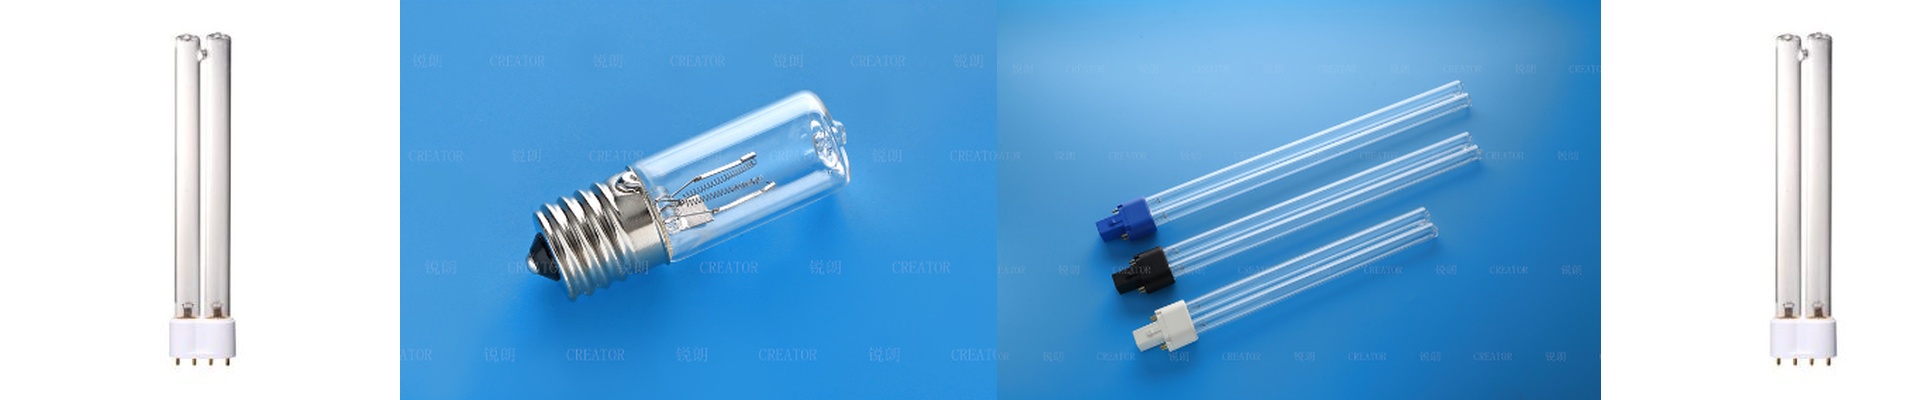
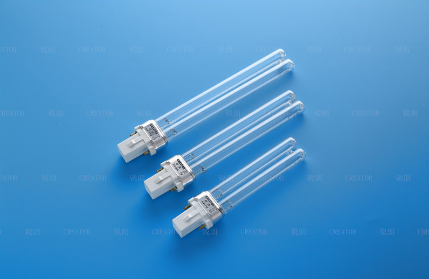
On the press floor, a mismatched UV lamp doesn’t just slow you down. It creates inconsistent cure, pinholes, and adhesion failures that show up again in the inspection bay. That one-minute selection guide isn’t a shortcut. It’s a disciplined way to line up the lamp’s spectral output with your press model and the ink’s photoinitiator chemistry. What matters, technically We lean on high-pressure mercury vapor lamps, built around the dominant 365 nm line. That gives you deep through-cure on thicker ink films. When the formulation is tuned to 385–405 nm, you have to shift the spectrum so the surface doesn’t skin before the bulk cross-links. Peak irradiance (W/cm²) and energy density (mJ/cm²) set the dose at your web speed. And the reflector’s dichroic coating keeps spectral purity tight while throwing heat out the back. Treat the 1000-hour rated life as a controlled degradation window, not a promise. Expect output to drop 10–15% by end-of-life. Plan lamp changes on a schedule that keeps cure energy inside the ink’s tolerance band. Why this works in practice Use the selection tool to match lamp power and arc length to the printer’s lamp housing and airflow. Get the connector, envelope dimensions, and ozone-free configuration right, and you avoid fit issues in the field. With the correct power density, you can run faster cycles without overdriving the lamp, cut energy draw, and reduce replacements by aligning duty cycles to that 1000-hour curve. Here are the details that bite you UV lamp output is sensitive to operating current, reflector alignment, and even substrate reflectance. Install with clean contacts and verified cooling. Under-cooling shortens lamp life and shifts the spectrum. Make sure the lamp is compatible with your shutter and ignition sequence. Mismatched ignition leads to unstable strikes and premature electrode wear.